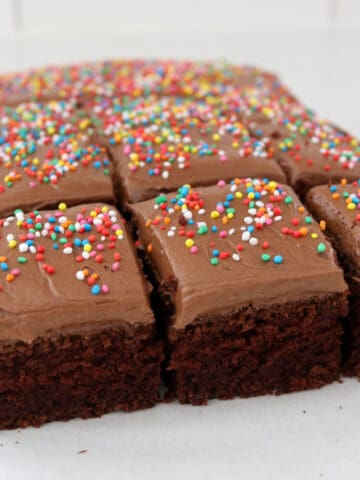
These No Bake Muesli Bars are perfect for the lunch box and best of all, they require NO baking! You can add any toppings you like, from 100's & 1000's to chocolate chips or sprinkles. Another handy thing about this recipe is you can freeze these bars and they defrost quickly. I pop them in the lunch box frozen and by lunch time they are defrosted and ready to eat.
This recipe uses a 22cm x 33cm (10 bars) sized tin, but you can use any size depending on the thickness and size of your bars. For the younger kids, I like to cut the bars into smaller bite-size pieces.
Ingredients
- 2 cups of rice bubbles
- 2 cups of quick cook oats (or pulse normal oats in a food processor)
- ¼ cup desiccated coconut
- ¼ cup butter
- ¼ cup honey
- ½ cup brown sugar
- ½ teaspoon salt
- ½ teaspoon vanilla
- ½ a cup of toppings (sultanas, choc chips, 100’s & 1000’s, dried diced fruit, sprinkles or m&ms)
Directions
- Mix rice bubbles, oats and coconut in a large bowl and set aside.
- In a small saucepan over medium heat, melt the butter while stirring. Add the honey, brown sugar, salt, and mix together. Leave alone while it comes to the boil (watch it carefully). Once it comes to the boil and bubbling all around the edges, start timing for 2 minutes. You might need to turn the heat down during this time so it doesn't overflow, but make sure it doesn't stop boiling.
- Add the vanilla to the saucepan mixture and pour it over the oat mixture.
- Use a rubber spatula to get all the mixture out the saucepan. Mix all the ingredients together until the oats are covered.
- This is where you can add half your toppings into the mixture and save the other half for the top of the muesli bars. If using choc chips, let the mixture cool first or you will end up with melted chocolate.
- Put the mixture into a lined baking tin and press down firmly. It's important to make sure that it's firmly in the tin or your finished bars will fall apart.
- Add your toppings on top and press them down firmly.
- Place in the fridge for 30 minutes and cut to size with a sharp knife.
Store in an airtight container or they will go hard.


Cath
My daughter and I made these today and they were a hit! Thanks for sharing!
ohsobusymum
Glad to hear that.
Lyndall
I assume as they set in the fridge, they have to be stored in the air tight container in the fridge. Do they go tacky or sticky in the lunchbox? Thanks
Vanessa Thompson
These have been such a hit in our house! We make dried apricot/sesame seed and coconut. I make a big batch, individually wrap in brown paper and freeze. They last for weeks as Kindy morning tea snacks. thanks for such a great recipe.
Amy
Can you tell me if these need to be kept in an airtight container in the fridge or the pantry is ok?
Thanks!