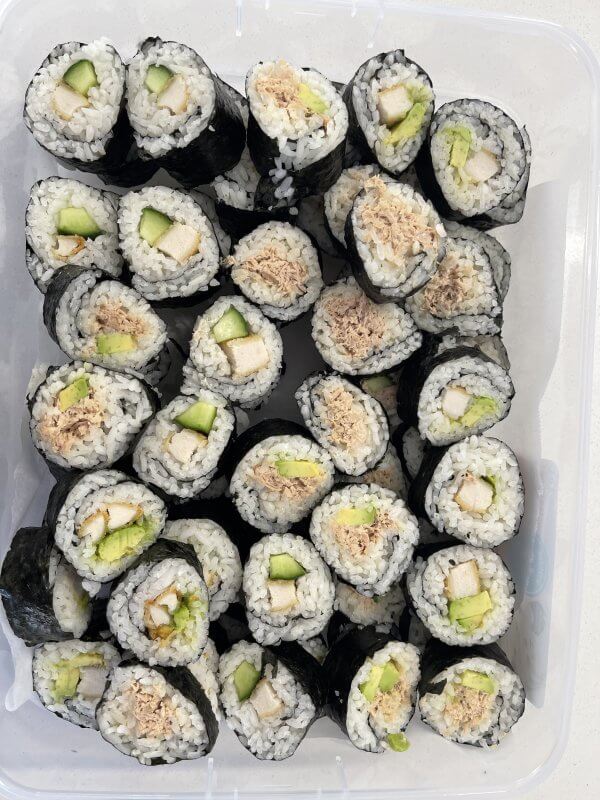
If you want to know how to make homemade sushi the easy way, this is the post for you! It's super easy to make and also budget friendly. You can make a huge batch with 1 packet of nori (seaweed) and a batch of rice. I purchased everything that I needed to make this homemade sushi from Woolworths, including the sushi mat and they also have a sushi kit that includes everything you might need to make your homemade sushi rolls.
What you'll need
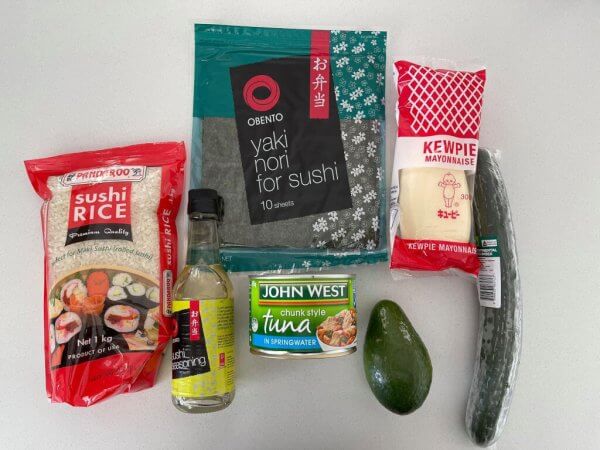
- Nori sheets (aka seaweed)
- Sushi rice
- Sushi seasoning
- Caster sugar
- Sushi mat (you can get this from Woolworths)
Fillings
- Kewpie mayo
- Tuna (I mix ¼ cup of kewpie mayo in with the tuna for flavour and to hold it together)
- Cucumber
- Avocado
- Crumbed chicken (I cook this in the air fryer and slice it)
- Soy sauce
Instructions
- Cook sushi rice as per instructions on the packet. I cook mine in the Thermomix using 400 grams sushi rice and 1L of water. Cook on varoma for 20 minutes. Allow rice to cool slightly. I prefer to make my sushi rolls with warm rice as it sticks better and is easier to roll.
- Mix together 1 - 2 tablespoons of sushi seasoning with 2 teaspoons of caster sugar until sugar dissolves. Add to the sushi rice and mix well.
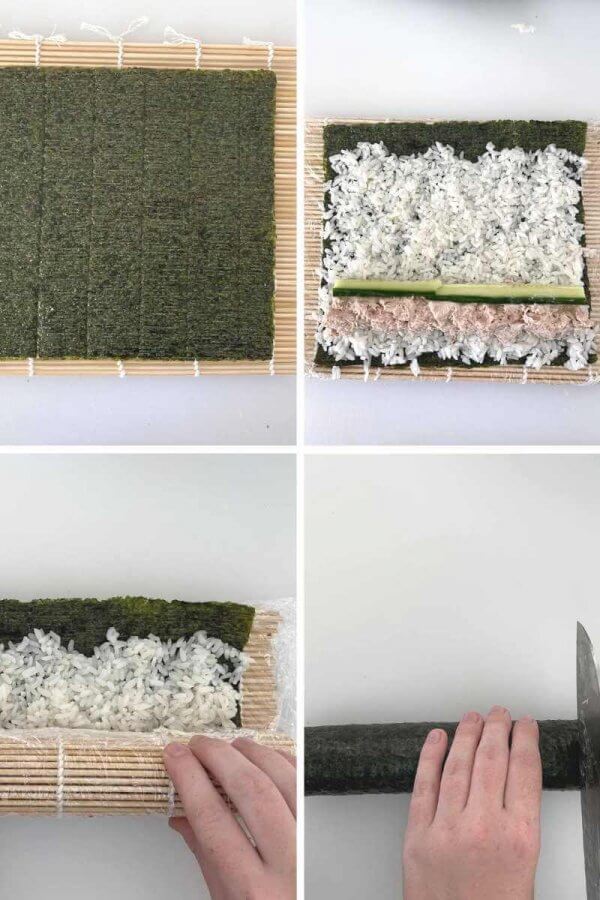
- Lay the "sushi seaweed" on a sushi mat shiny side down. A big tip is to cover the mat in Glad Wrap to make it easier to roll and stay clean.
- Grab a small bowl of water to dip your fingers or spoon in to handle the rice which will stop it from sticking.
- Using a tablespoon dipped in the water, press down rice on the seaweed around 1 cm thick using the back of the spoon and spread it out evenly. Make sure you leave 2 cm on one end to seal it once rolled. You don't want the rice/filling too thick or it will be hard to roll. (I've added a photo to show how thick I make it).
- Add your fillings (I'll add some filling ideas below)
- Start rolling the sushi mat slowly keeping your hands on each end and holding it firmly. Continue to roll holding it firm until the end.
- Place sushi with the sealed side down and cut to the desired size or you could just cut in half for a hand roll.
FILLINGS
Tuna Filling Recipe - I use a large tin of tuna in spring water with ¼ cup of Kewpie mayo, and a good seasoning of salt/pepper (it's really good as a sandwich filling too).
Crispy Chicken - I cook it in the air fryer for 10 minutes and slice it in strips.
Cucumber - Add a dash of mayo prior to rolling for some extra flavour.
Avocado - A great veg option.
Let me know if you have any questions and I will happily answer them!


Michelle
Cooked bacon and mango chutney is also yum!
Joy
Can you make it night before?
Kezza Schoobs
Yep! I wrap my rolls tightly in glad wrap and put in the fridge. Then I slice the next day - I think it’s actually easier that way!
Courtney
Very helpful hints. Thank you
f
This recipe was amazing all of the food went well together im going to be making this again later today for my kids
Danny
This recipe was amazing all of the food went well together im going to be making this again later today for my kids