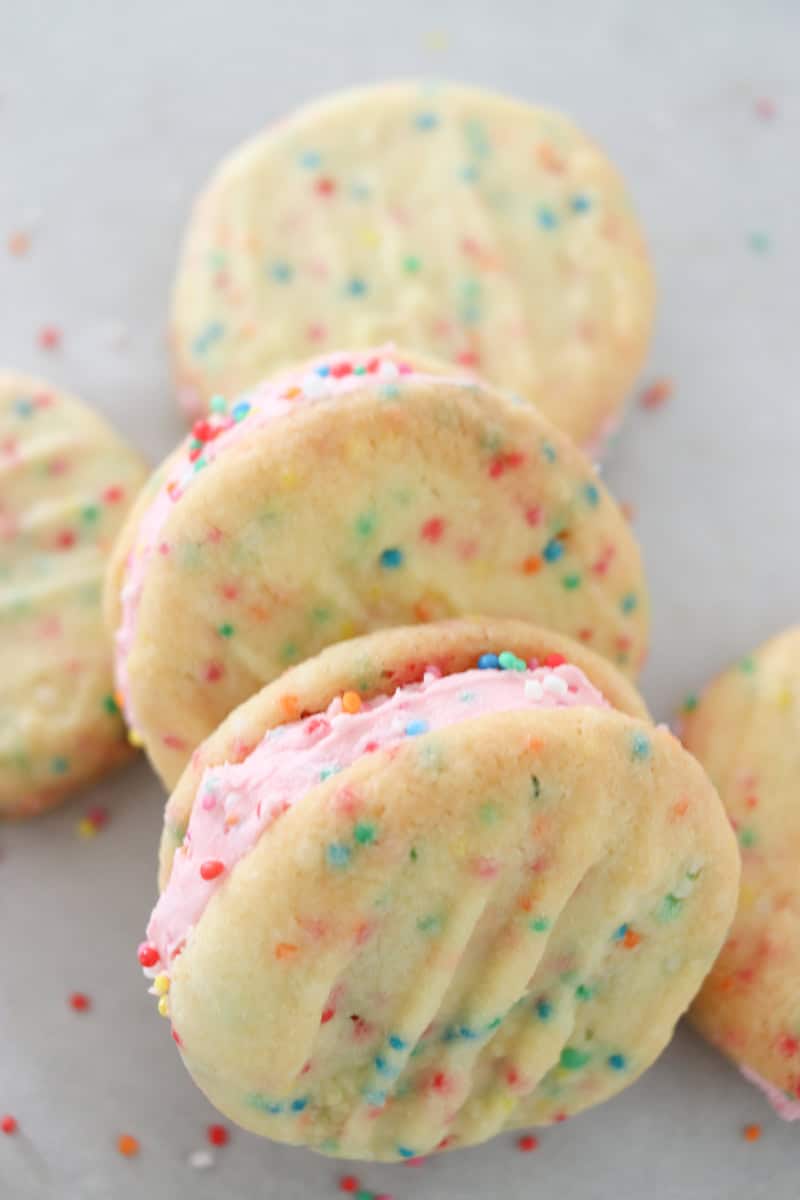
I thought it would be a bit of fun for the kids to put a little spin on melting moments and create these yummy and easy-to-make fairy bread melting moment biscuits. My kids love them, and they look pretty cute too!
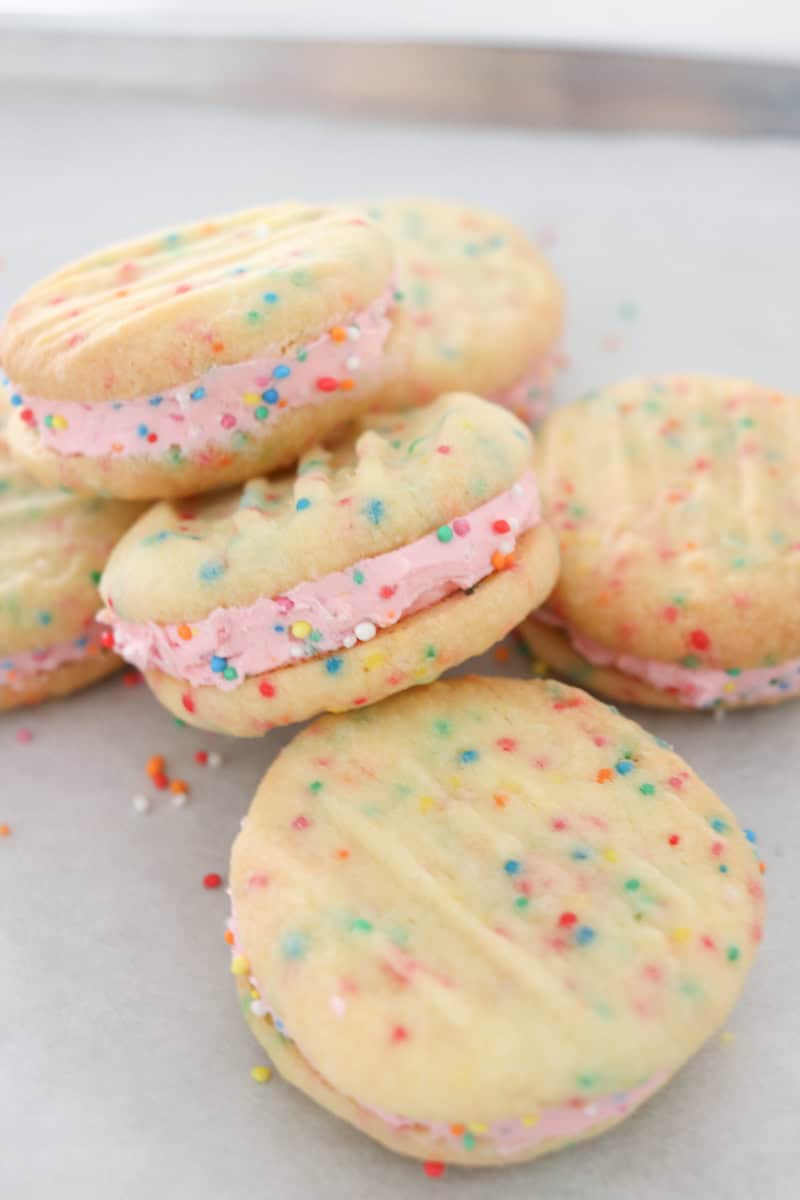
These biscuits are super easy to make using just 7 ingredients, and they taste amazing. I like to add some pink food colouring to the icing, but you could leave it out and just use the sprinkles.
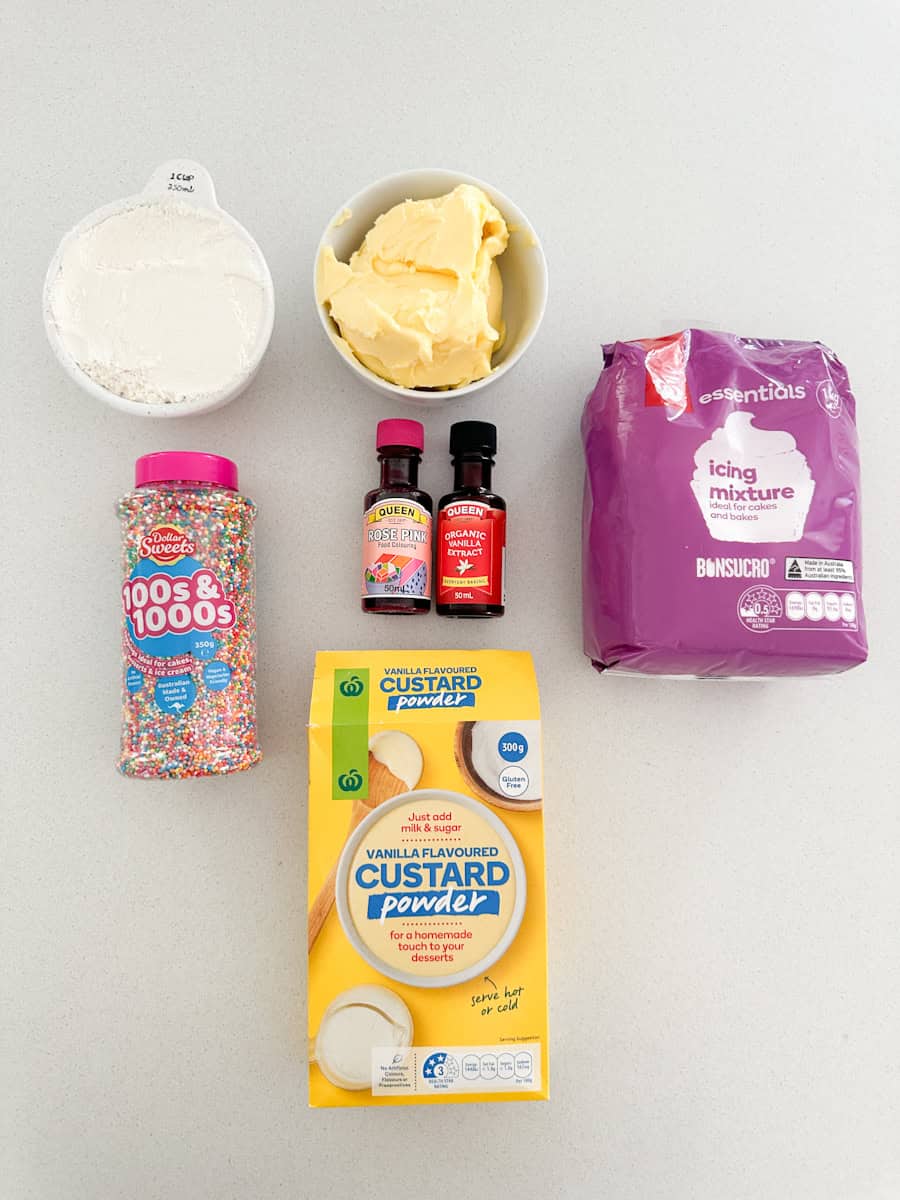
Ingredients
Biscuits
- plain flour
- custard powder
- butter
- icing sugar
- 100s & 1000s sprinkles
Icing
- icing sugar
- butter
- custard powder
- vanilla essence or extract
- pink food colouring
- 100s & 1000s sprinkles
See the recipe card below for quantities.
Instructions
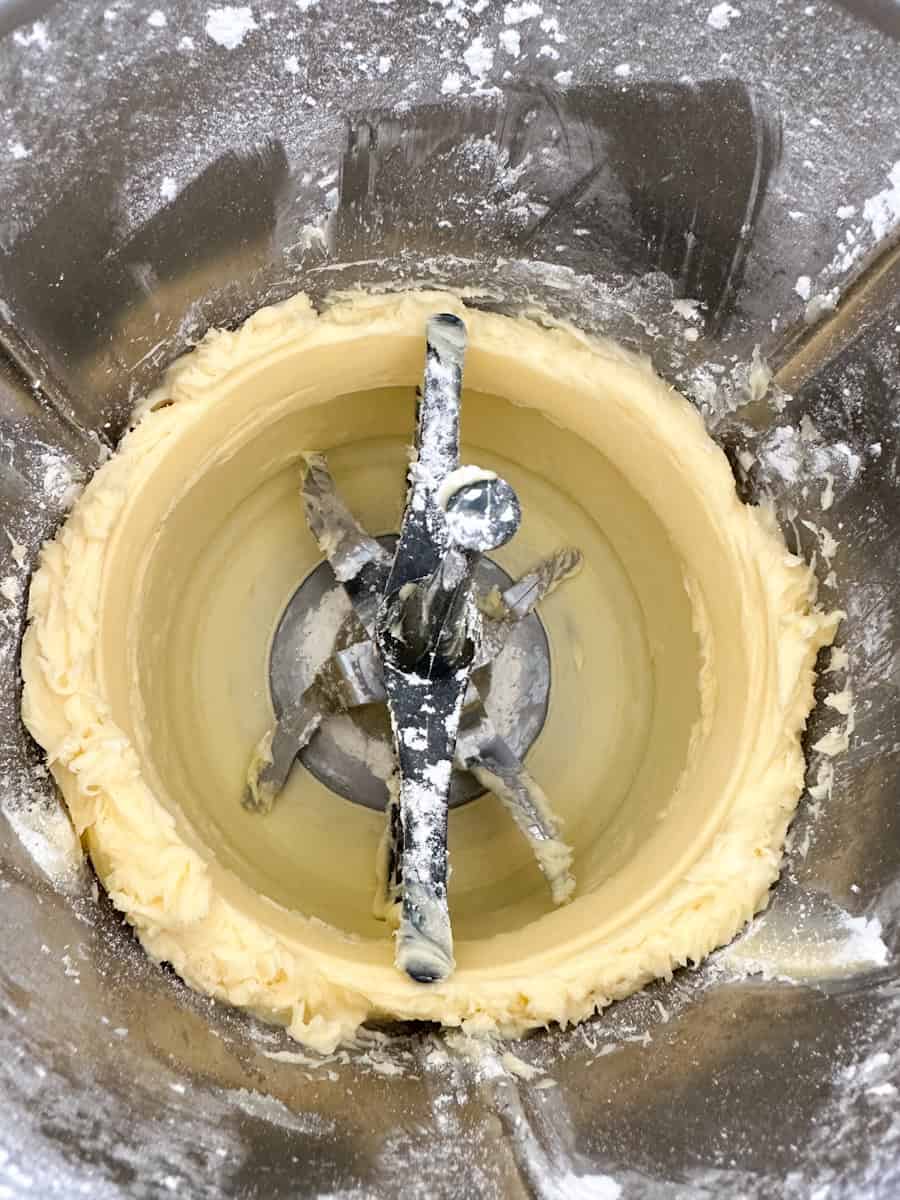
Step 1
Using an electric mixer, cream together butter and the icing sugar until light and pale.
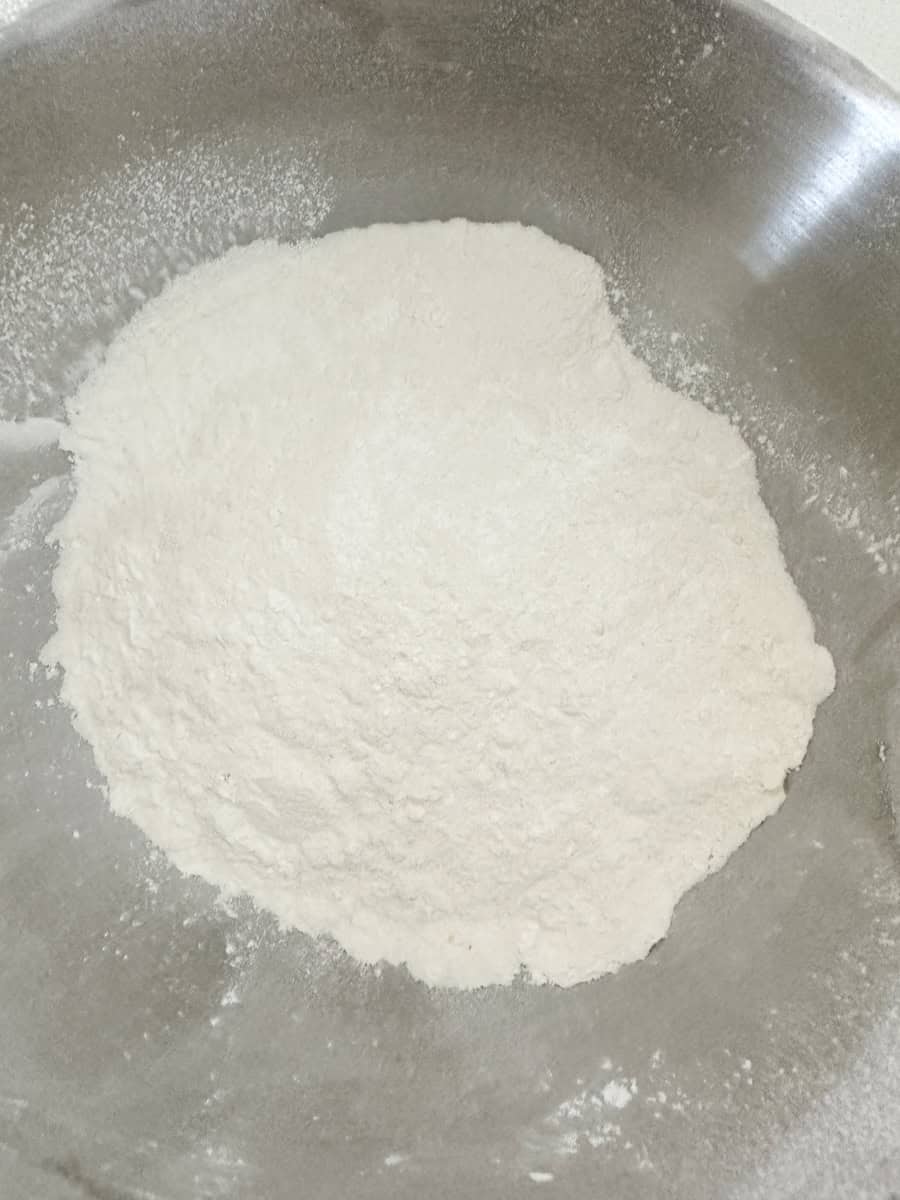
Step 2
Add sifted flour and custard powder into the butter mixture and mix with the electric mixer until combined.
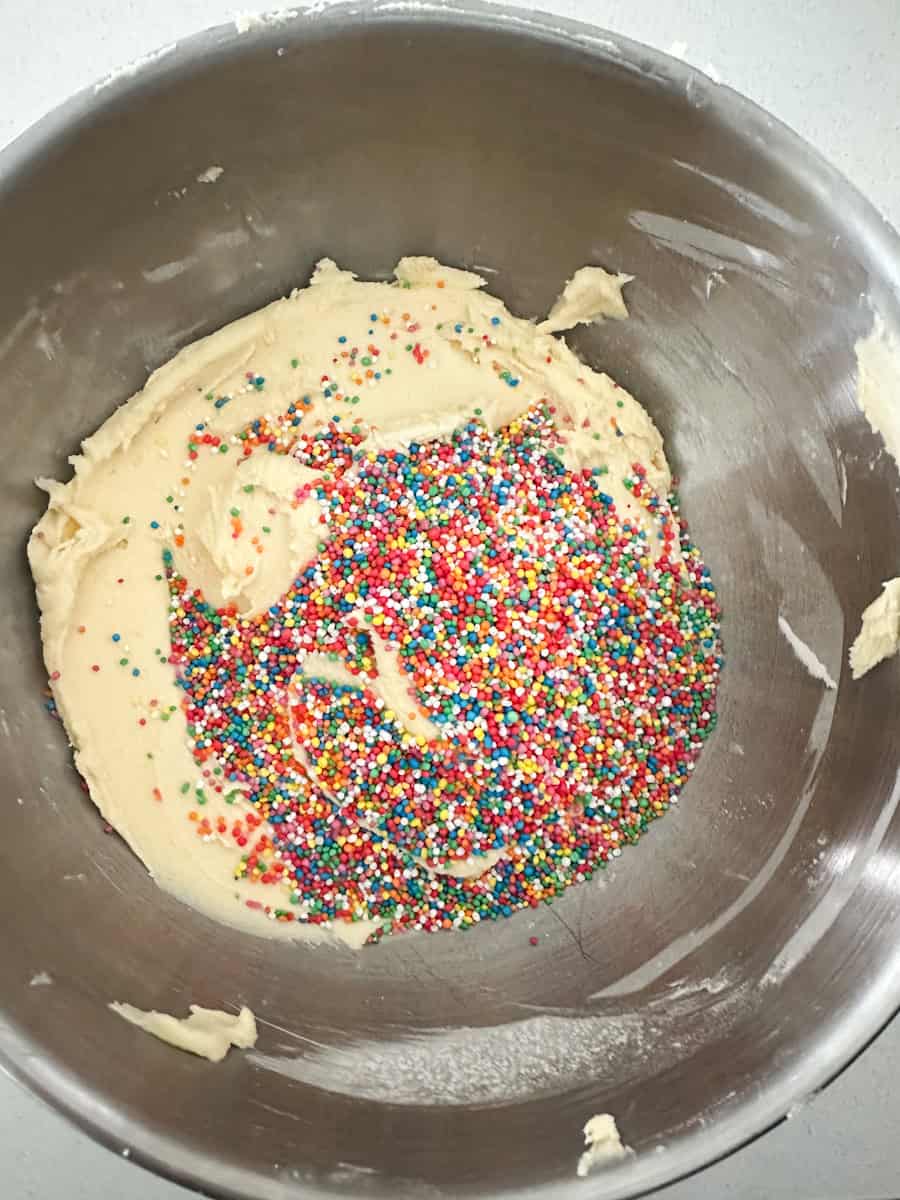
Step 3
Add in the sprinkles and mix.
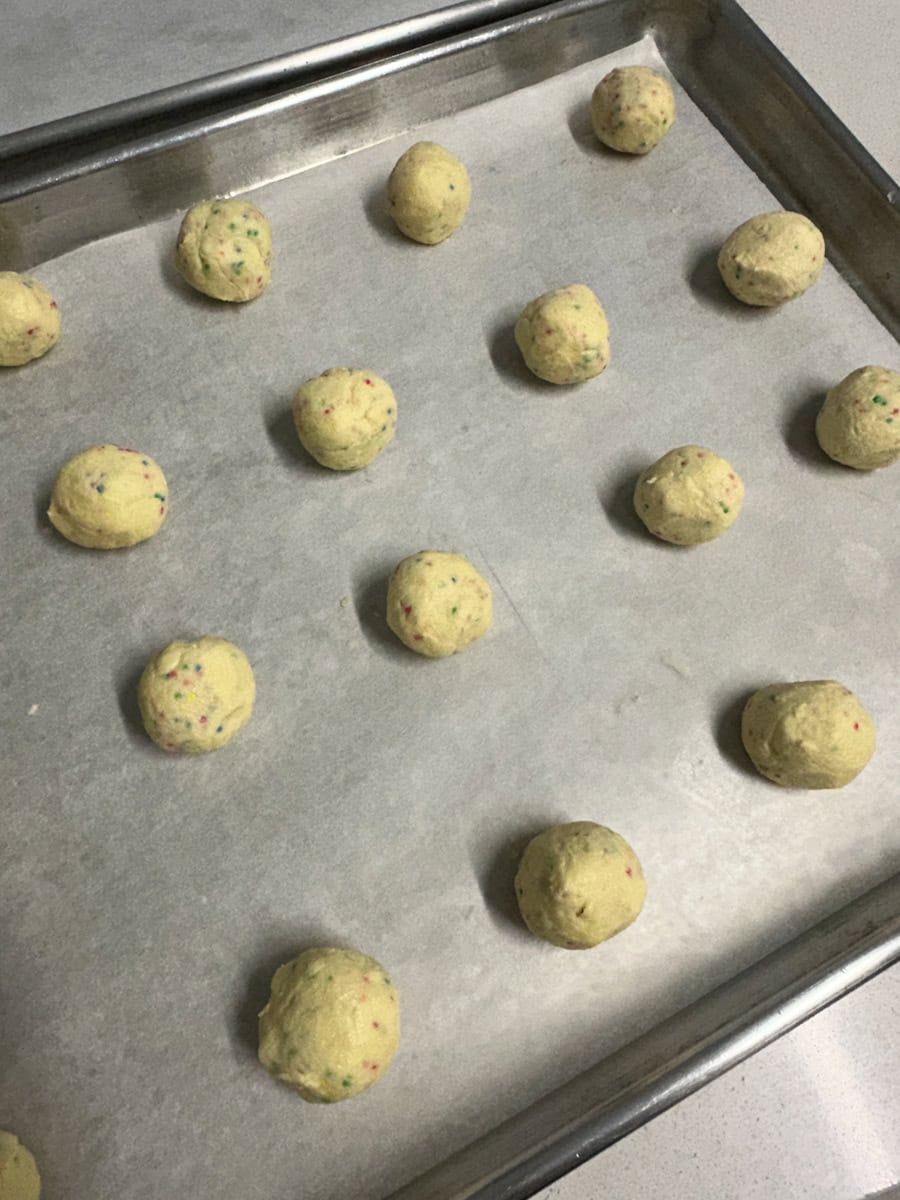
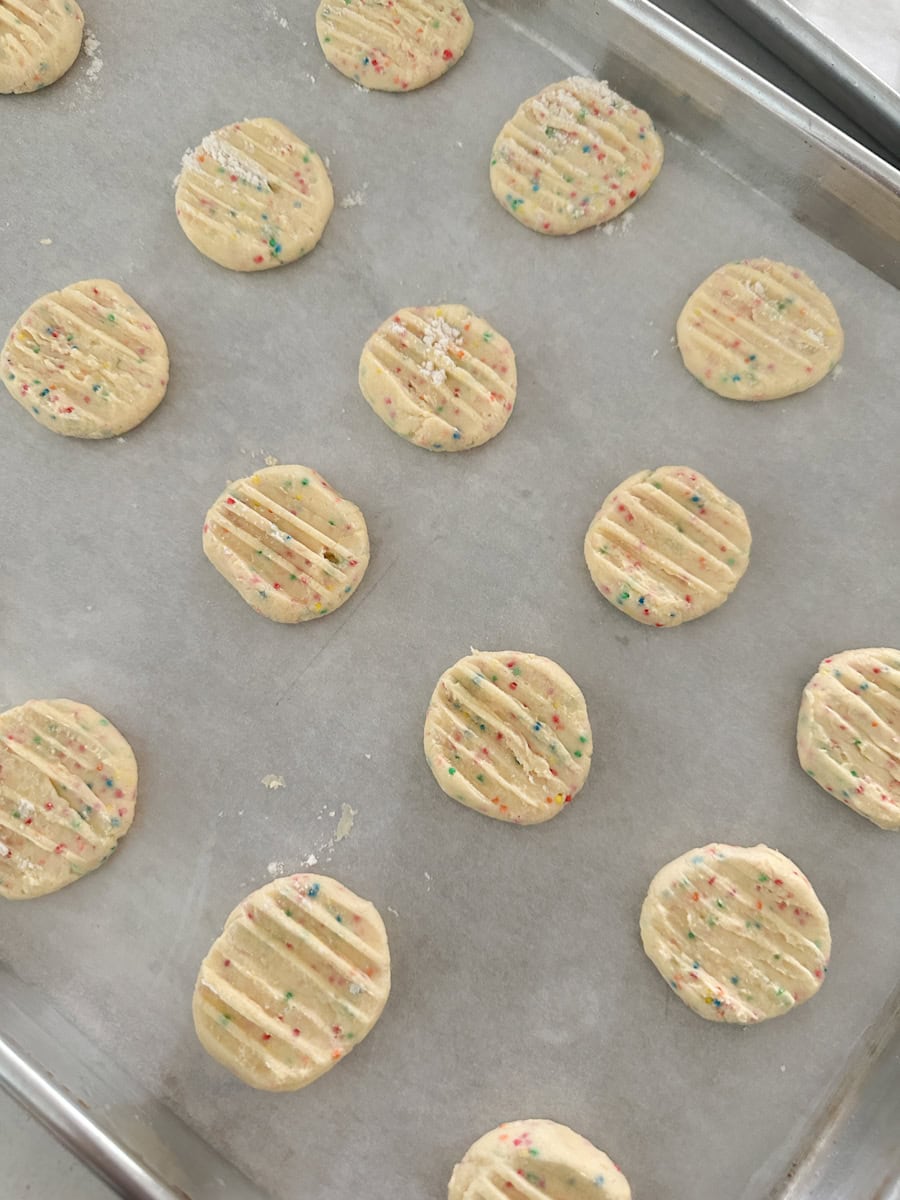
Step 4
Roll into teaspoon-sized balls and arrange on the tray, allowing space to spread slightly. Press down on each of the biscuits lightly with a fork dipped in flour.
Step 5
Bake for 12 minutes. Remove from the oven and allow to cool.

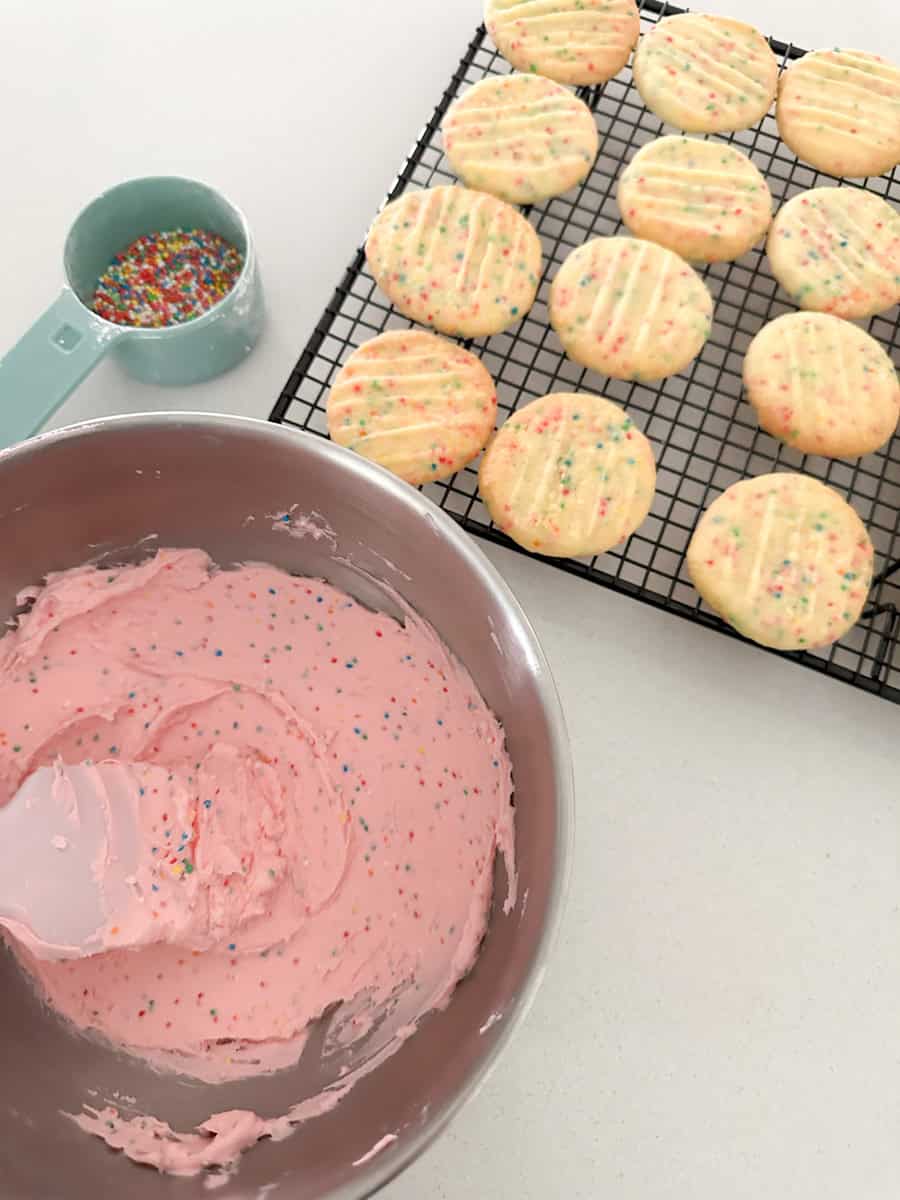
Step 6
Using an electric mixer, cream the icing sugar, butter, custard powder and food colouring.
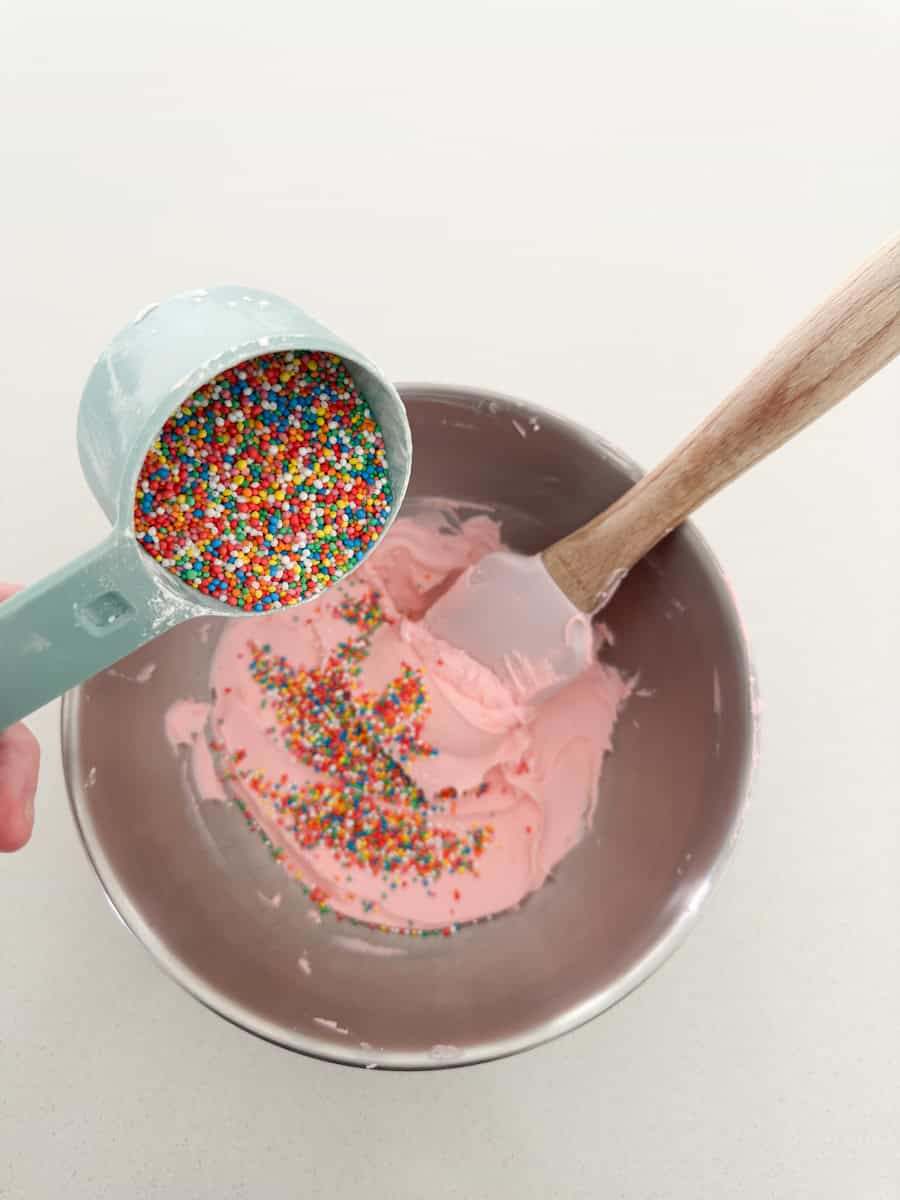
Step 7
Add in the sprinkles and mix.
Step 8
Add filling to one side of the cooled biscuits and sandwich them together.
Top Tip
Make sure you keep them teaspoon-sized, or they will be on the larger side.
Storage
- Store biscuits in an airtight container: This helps to keep moisture out and maintain the crispness of the biscuits for up to 7 days.
- Layer with baking paper: To prevent the biscuits from sticking together or crumbling during storage, you can place a layer of paper between each layer of biscuits.
Check out my new recipes!


Fairy Bread Melting Moments
Click on the stars to rate this recipe!
Ingredients
Biscuits
- 185 grams butter softened
- ½ cup icing sugar
- ½ cup custard powder
- 1 cup plain flour sifted
- ¼ cup 100's & 1000's sprinkles
Filling
- 1 cup icing sugar
- 75 grams butter
- 1 tablespoon custard powder
- 1 teaspoon vanilla essence
- 2 drops pink food colouring
- ¼ cup 100's & 1000's sprinkles
Instructions
Biscuits
- Preheat oven to 180°c and line a large baking tray with baking paper.
- Using an electric mixer, cream together the butter and the icing sugar until light and creamy.
- Add sifted flour and custard powder into the butter mixture and mix using the electric mixer. Add in the sprinkles and mix.
- Roll into teaspoon-sized balls and arrange on the tray, allowing space to spread slightly. Press down on each of the biscuits lightly with a fork dipped in flour.
- Bake for 12 minutes.
- Remove from the oven and allow to cool.
Filling
- Using an electric mixer, cream together the icing sugar, butter, custard powder and food colouring.
- Add in the sprinkles and mix.
- Add filling to one side of the cooled biscuits and sandwich them together.
Notes
Nutrition
The nutritional information provided is computer generated and is only an estimate. This data is provided as a courtesy for informational purposes only.


Dee
Thank you for such an easy recipe that the kids loved making! Just the pop of colour and fun we needed on the table with a rainy afternoon upon us ( but, yay for the rain!)
Tracey Stalker
These biscuits are easy to make and taste amazing.
Caitlin
Any chance you could upload the thermomix steps?
Rebekah Denmark
How many sandwich style cookies does it make 😊
ohsobusymum
it depends on the size but around 10
Melanie
So yummy and so cute! Made them with the kids and they’re a new favourite
Rebecca Sgro
These were so yummy ! Big hit with me and the kids .
Lauren
I made this with GF flour and custard powder and used nuttelex to make it more LF.
I had to add a bit more flour/powder to get right consistency right but they turned out great. Such cute little treats, kids really enjoyed them! Thank
Rachel Barraclough
Amazing, such a simple recipe that tastes delicious! I made and froze the cookie dough a few days before needed to save myself some time. It came out great when defrosting and the cookies are delicious! Will be a big hit at school shared lunch
Rayna
My girl loves these in her lunchbox ❤️ They are so yummy and cute!
But did you mean to write tbsp sized balls not tsp? I did tsp with the first lot and they burnt because they were so small, a tbsp size works perfectly for us 👍
Britt
I hag to make multiple batches as the 12 min cooking time was just too long. But I got it right with 8 mins. Delicious and devoured within mins of putting down.
Anita
Nice and easy and I had all the ingredients which was great. They turned out just like the picture 😊
Ruby M
It is slaying the vibe of coulor
Anonymous
Delicious, I don’t like hundreds and thousands so I used sprinkles instead. Would definitely make them again.